How to Make a Kabuki Mask
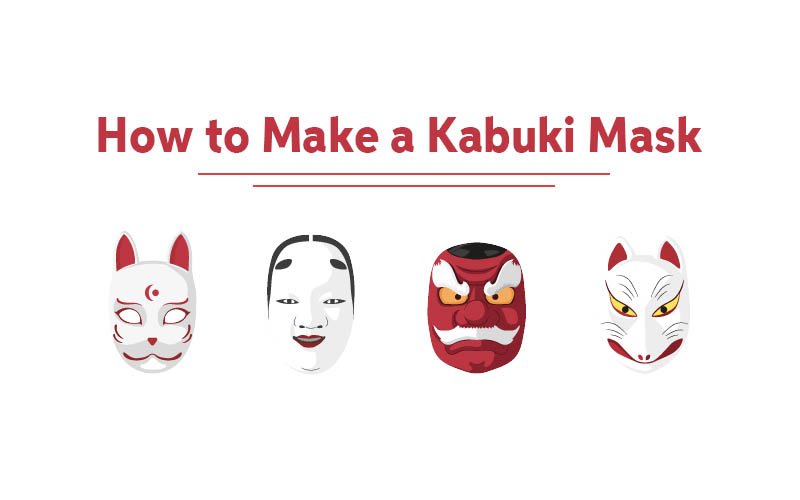
Japanese masks have a traditionally rich history. They are used occasionally in theatres, festivals, or rituals. They are associated with several tales and myths which no one surely knows are true or not. These kabuki masks represent people, creatures, devils, god, ghosts, and animals.
Here we have provided you with the easy ways to make different kabuki masks, plus, unfortunately, if you failed in making a kabuki mask, then we have also provided you with the best platform for you where you can easily buy any of the masks.
Easy Steps to Make Noh Mask
Manufacturing a noh mask would be a challenging and fun task to get into the Japanese traditional culture. We have proposed an easy method for you to make noh masks at home easily. For this, you need to follow our steps sequentially, plus if you fail in constructing the one you wish for, then visit our site and buy it in a reasonable price range.
Here are the easy steps plus material which is required to make noh masks at home
Material Required
- wood/ paper/ balloon/ plastic etc
- Craving tools (in case of wood)
- Cutter (in case of plastic)
- Paint (according to your choice)
- Elastic band
Method
- First, you need to draw the shape of the mask, which you need to make (no matter which base you are using, you have to do this for every base material).
- After drawing its time to carve it, in case of wood, you need to carve it. In case of plastic, you need to cut it, and in case you are using balloons, then make sure that you do not blow it much.
- After carving or cutting a particular shape, let it rest for a while.
- In the case of balloons, take newspaper and glue and start sticking them on the balloon according to the shape of the mask. Let it be done first.
- After constructing the particular Noh mask, it’s time to paint it. Take any of your favorite colors and color your mask.
- Let it dry!
- After this, you need to make two holes near the corners of the mask on equal distance and put an elastic band in it so that you can easily wear it.
Making Hannya Mask at Home
Making a hannya mask is as easy as ABC, especially when you are having a mold or similar mask. Here are the quick and easy steps to make it on your own, so let’s get started.
Here is the list of material that is required to make such hannya mask
- Mould or original mask
- Knife
- Plaster
- Newspaper or kitchen paper
- Glue
- Masking tape
- Aluminum foil
After knowing the material, it’s time to assemble it and make your hannya mask and let’s get started 🙂
- Remove the bands from the mold or the mask and wrap the aluminum foil around the mask.
- Smooth out the edges, curves, and crevices using your fingers.
- Use masking tape if there is any tear
- Spread glue all over the mask and paste newspaper or kitchen paper on the mask in pieces and tighten them with the help of your fingers and thumb.
- Let it dry and become sturdy.
- Again spread glue on the dried mask and paste pieces of newspaper on it again to make it stiffer. The more the layers of paper, the more rigid and good quality mask it would be.
- Now once again, wait for it to dry.
- Using a knife or cutter, cut the mouth and eyes area.
- Now it’s time to make horns, for shaping the horns use aluminum foil and repeat the same steps like pouring glue on it and pasting paper on it, again and again, to make it stiff and sturdy.
- Now melt glue and pour it on the forehead of the mask and paste the horns on it.
- It’s time to sharpen the features and paint the mask, so do it carefully and let it dry. You are done!
How to Make Japanese Fox Mask
As you are familiar with the construction method of other masks like oni, noh, and hannya, then it’s time for you to learn how to make Japanese fox masks. If you have learned all of the above, then, believe me, it would be the easiest one.
For making Japanese fox mask here are a few things that you will need
- Newspaper
- PVA glue
- Paper clay
- Aluminum foil
- Bendable aluminum were acrylic paint
- Precision knife
Method
- It is recommended to use a balloon as the base of the mask, and it would be the best choice to use a smaller balloon than your face
- Mix PVA glue with water in equal ratio to make your DIY glue. After this, you need to soak newspaper strips (cut them first) into the glue mixture.
- Now you have to paste those strips horizontally on half of the balloon(you can say on the front side).
- Put another layer on it, but this time paste them vertically and let them dry overnight.
- The next morning when it becomes sturdy, then pop the balloon, and now you have the front shell.
- Cut the oval shape according to your face and structure of the mask.
- With the help of the knife, cut two out slits for eyes.
- To give it a more realistic look, use aluminium foil on the forehead and face area to give it a bunchy look.
- Now use paper clay to flat it and rest it for two to three days for better results.
- Use paint to color its base and then use paintbrushes to make its features.
- Make two holes and put a ribbon in it to tie it with your face, and you are done.
Where to Buy Kabuki Masks?
In case you tried hard to construct any of the kabuki masks but failed, so you do not need to worry about it as kabukimask.com is here to assist you in this regard. By assistance, we mean a platform where you can buy any kabuki mask within an affordable price range and free shipping. We assure you the best quality kabuki masks with the best price and free shipment. So enjoy!